DIY CAR CARE
How to remove bugs from car paint without hard scrubbing
Remove bugs from car paint with a gentle wash, label-led spot treatment and a clear stopping point when marks remain.
Choose your service. Request a time. We’ll confirm the details.
- 5.0 stars on Google11 customer reviews
- We come to youHome or workplace
- Water & power suppliedEquipped for your service
By Blog Writer · 4 minute read
Start gently and check the finish
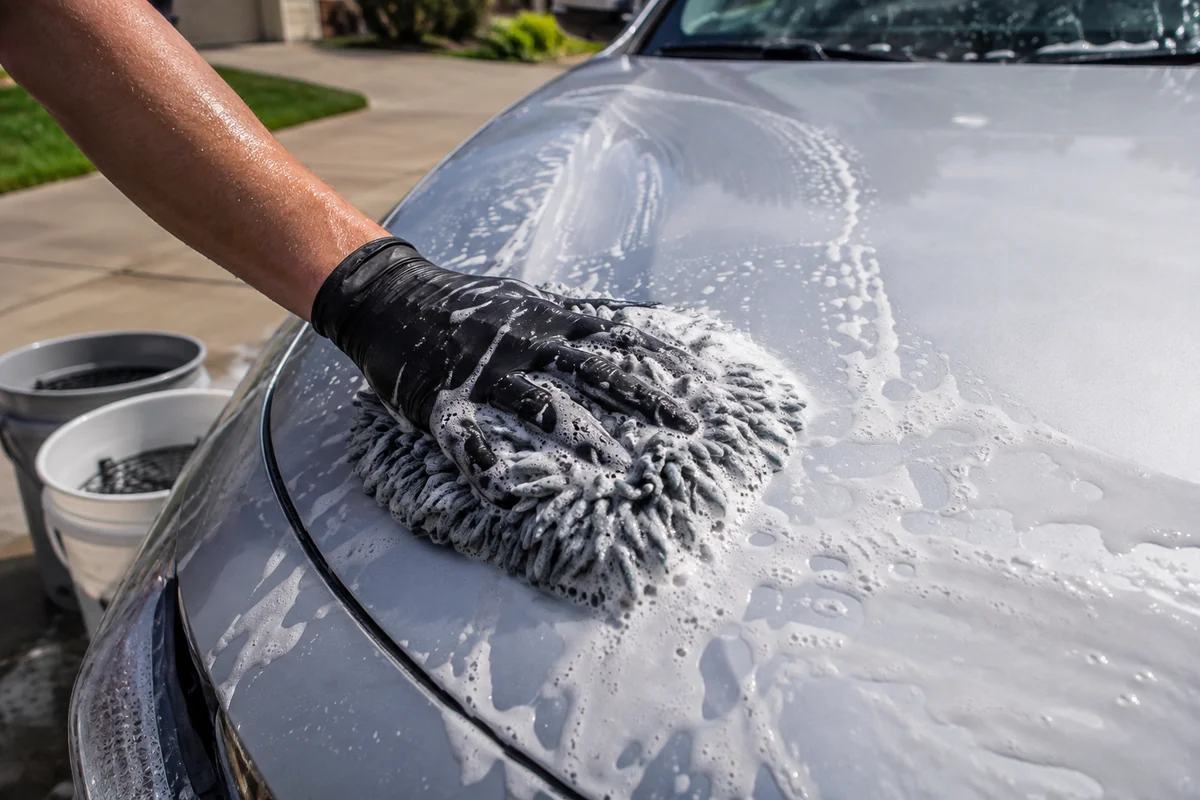
To remove bugs from car paint, start with a gentle wash and treat remaining spots with a product approved for the surface. Increasing pressure is not the next step when a mark resists cleaning. A clean-looking bumper is not worth a patch of scratched paint.
Choose shade and let hot panels cool before starting. Check the vehicle’s care instructions, especially for matte finishes, wraps, protection film or recently repaired paint. Gather automotive shampoo, a clean mitt and several clean microfiber towels. Our two-bucket wash guide covers the general wash routine.
Wash, then identify what remains
Remove loose dirt before close contact with the paint. Wash gently, rinse and inspect the bumper, mirror caps and front edge of the hood. A normal wash may remove fresh residue; stubborn dried deposits can need a dedicated treatment. Turtle Wax’s bug-removal guide recommends prompt cleaning and warns that forceful removal can scratch the finish.
Do not assume every dark speck is an insect. Tar, stone chips and old stains can look similar from a distance. If you cannot identify the mark, describe it and any previous treatments before choosing another chemical.
Let the product directions set the sequence
Products do not all use the same process. Meguiar’s G180515 Bug and Tar Remover uses clinging foam to soften dried contamination; its product page describes use before a regular wash or between washes. That is a product-specific direction, not a universal instruction for every bug cleaner.
By contrast, the US instructions for Turtle Wax Bug & Tar Remover begin with a washed and dried vehicle, followed by treating individual deposits, allowing the product to penetrate and wiping with microfiber. Follow the bottle you actually have for application, dwell time, rinsing and protective equipment. Do not combine instructions from different formulas.
Test a small inconspicuous area where the label permits. Work a small section and use a clean towel face for each pass. Avoid improvising a stronger dilution or longer dwell because a spot has not lifted. Check compatibility separately for plastic trim, lenses, film and paint.
Stop when cleaning becomes rubbing
After removing the residue, inspect the dry surface in good light. A remaining outline may be a stain or finish damage rather than material still sitting on top. Repeatedly scrubbing the same spot can make the repair more involved. Stop if the finish changes, the towel catches on damaged paint or a gentle label-directed treatment does not improve the mark.
A cleaner does not promise to repair etched clear coat. Assessment comes before polishing, particularly on special finishes. Our matte paint and protection-film guide explains why the finish changes the care plan.
Finish the job and plan the next wash
Follow the cleaner’s finishing steps and check whether your compatible protection needs renewal. Turtle Wax’s US product directions call for wax after treatment. For an existing coating or film, use that system’s maintenance instructions instead of assuming any wax is suitable.
Before the next wash, clean and inspect the tools you used; our microfiber towel care guide helps keep dirty towels out of your paint-care kit. If you would like help assessing stubborn contamination, explore MDC’s Exterior Detailing and explain what remains. We can discuss suitable care at your Orange County home or workplace.
Manufacturer sources reviewed September 8, 2026. This is practical guidance based on published directions, not a hands-on comparison or a guarantee of stain removal.
A LITTLE KNOW-HOW FOR THE ROAD
Car-care tips worth a read.
Matte paint and protection film: maintenance is becoming more specific
As finish choices expand, gloss-enhancing products are no longer an automatic choice for every panel.
Read the guide: Matte paint and protection film: maintenance is becoming more specific ↗
Clay bar vs iron remover: which contamination are you treating?
Understand chemical and mechanical decontamination before adding unnecessary steps to a clean finish.
Read the guide: Clay bar vs iron remover: which contamination are you treating? ↗Rinseless vs waterless washing: choose by the dirt on the car
Reduced-water washing still needs a suitable surface, clean tools and the correct product directions.
Read the guide: Rinseless vs waterless washing: choose by the dirt on the car ↗
Pet hair in car seats: a gentler removal routine
Work in small areas and choose tools for the upholstery instead of scraping harder.
Read the guide: Pet hair in car seats: a gentler removal routine ↗
Good car care.
Right where you are.
Mobile car wash and detailing at your home or workplace across Orange County.